Showing posts with label right elevator. Show all posts

Tuesday, July 5, 2011

Trailing edge right elevator

Decided to simply rivet the upper rivet on the trailing edge. Then drill abother hole on the underside at a edge distance apart from the existing hole. When trying to get a dimple tool in there - not a chance, so a normal head cherrymax had to go in there. Looks really ugly, but is OK from a structural point of view, so that's how it will be. Keep this as a lesson for the rest of the narrow double sided parts.

Since I have made the lead weights of sheet, they have to be boltet on. Originally lead would be meltet around the bolts making it one single solid part. When using the sheets I have to make a plate from harder material so the bolts will not just enter ino the led. I started making them from scrap aluminium.

Sunday, June 26, 2011

Led weight

Made led counter weight from sheet led. These need to be bolted in place, so I need some bolts. Might as well use an bolts. These have to be ordered so I continue with the left elevator next.

Saturday, June 25, 2011

Right elevator

Just about finished. I only need to add led weights. That will be made from sheet led.

Thursday, June 16, 2011

right elevator leading edge

Bent and drilled the leading edge. Have to do some fine adjustments to the curvature before riveting.

Tuesday, June 14, 2011

Bending the leading edge right elevator

Riveted the rest of the rivets including the cherrymax. Used my professional cherrymax riveting tool instead of my cheap blind rivet tool, and what a difference! Forgot to stagger the outmost rovets at the trailing edge, so I have to put in a slug there and some reinforcement between the flanges. There is no space for two cherrymax in there. Always something.

Monday, June 13, 2011

Riveting right elevator

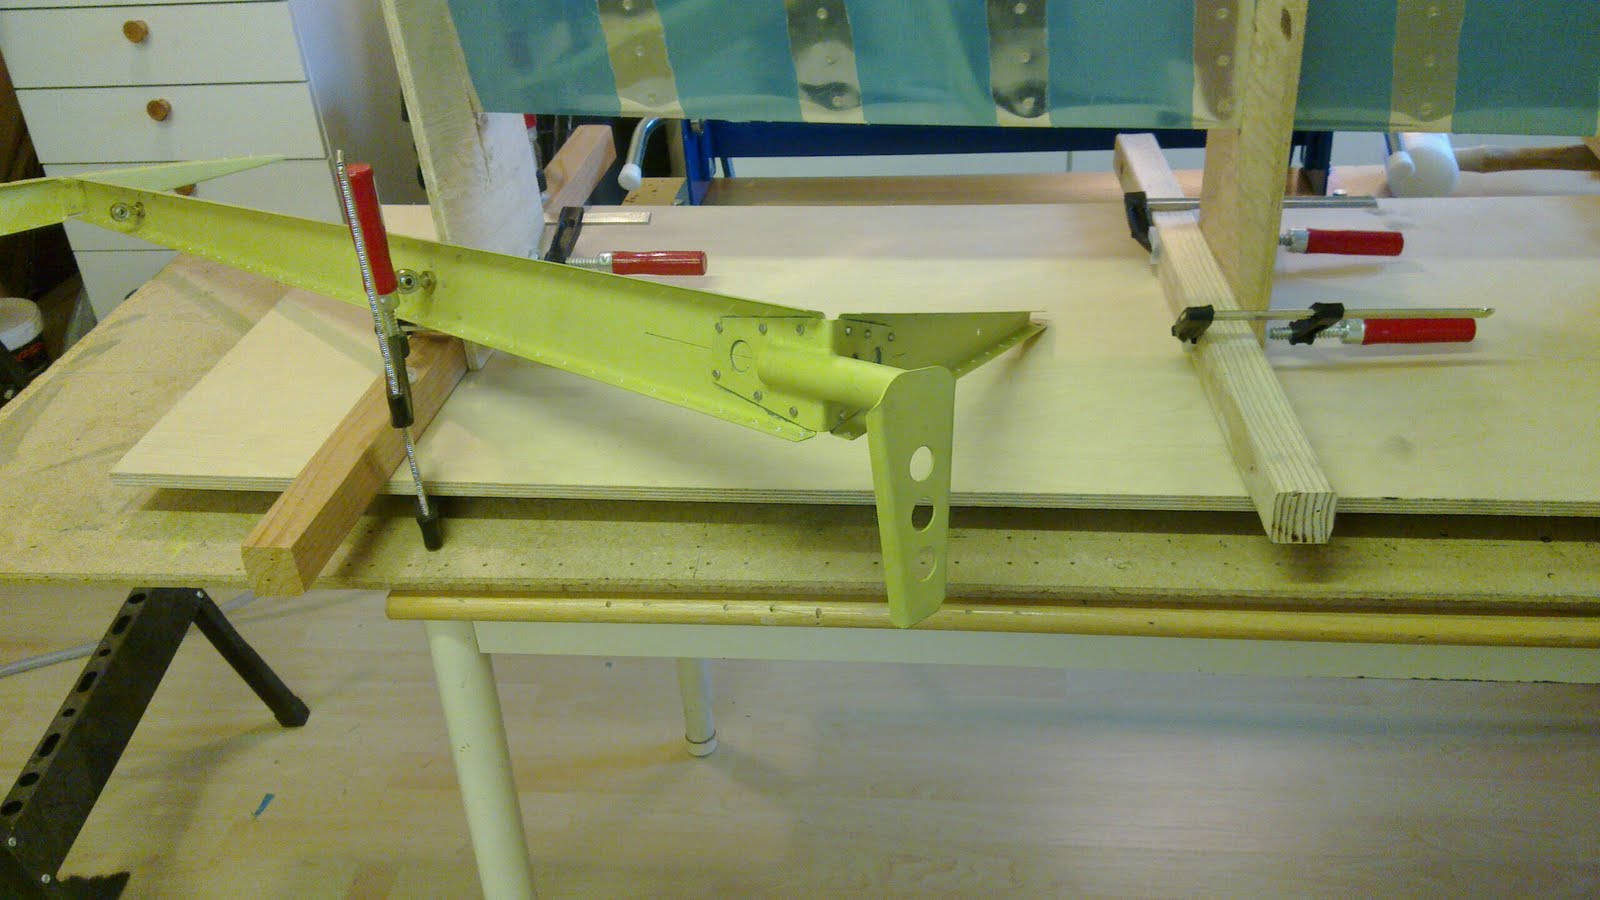
Deburred and dimpled all holes, riveted the elevator horn to the skeleton, then inserting everything into the jig and riveted together. A few "stray" rivets still have to be done as well as the cherrymax ones in places I cannot easily get to using normal rivets.

The horn is RTV'ed as well. My counsellor told me to always use RTV between aluminium and steel due to corrosion. I have been a bit sceptical to this because the rivets themselves are connecting the steel and the aluminium in any case (galvanic corrosion), and also I have been a bit sceptical about this "rubber glue", and how it will affect the strength, will it act "spongy" weakening the riveted joint? I tested the RTV on some scrap aluminium, let it cure for a week. The joint is about 2-3 square cm, and now I cannot tear it apart using my hands, so the RTV is certainly not weakening the joint. It also occurred to me that the RTV is not there to prevent the galvanic process, but rather to keep the moisture out of the joint, seal it off completely; no moisture - no corrosion. So, RVT between aluminium and steel is most certainly a very good thing and easy to apply.


Saturday, May 28, 2011

Right elevator skin

Right elevator skin is finished trimmed. Next is to install the elevator to obtain correct angle between the HS and the balance arm.

Sunday, December 12, 2010

More trimming

Started trimming (cutting and filing) on the right elevator skin. Cut out both tip skins from the sheet of metal.

Monday, November 29, 2010

Elevator skinning

Did some more measurements and fitting of the skin.

Sunday, November 28, 2010

Right elevator skinning

Finished (pressed) the trailing edge and set up the jig for the right elevator. Cleaned up the shop a bit and put some boat parts and all the new rivets in right.places.


Sunday, May 3, 2009

Riveted right elevator skeleton, started on left

Riveted together the the tip ribs on the right elevator. Had some primer left in the gun, so I primed the pop rivets in the rudder skeleton as well. Started on the left elevator, simply studying the drawings and parts trying to figure out how this all fit together.